Groups are beneficial as they allow you to assign policies to specific staff groups. For instance, you may have a policy that you only want to be assigned to Nurses, but not your Doctor or Reception Staff.
By setting up these groups, you can easily assign documents to groups within a few clicks, instead of having to individually select each staff member every time you publish a policy.
Create a Group
To manage groups, select Admin from the left, then Groups.
On the Group Management page, select CREATE NEW.
Enter a Group Name (e.g. “Reception”, “Nurse”, “Administration”, “Doctor”) and press SUBMIT.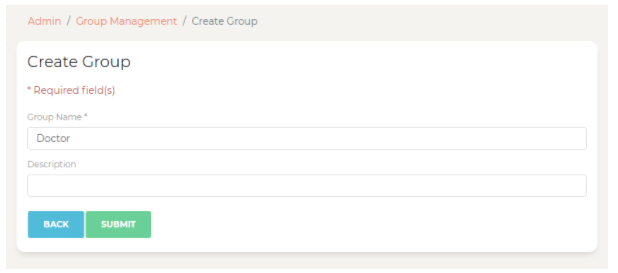
(Description is optional)
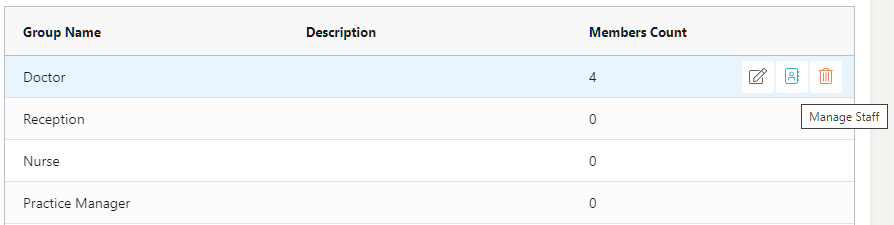
Edit a Group
Hover over a group name, and select the 2nd icon ("Manage Staff") on the right to assign staff members:
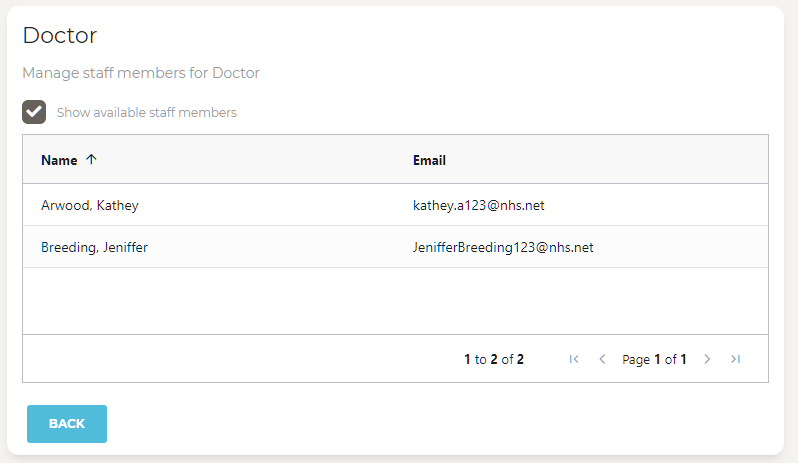
Enable Show available staff members to see a list of available staff members on the right-hand side: 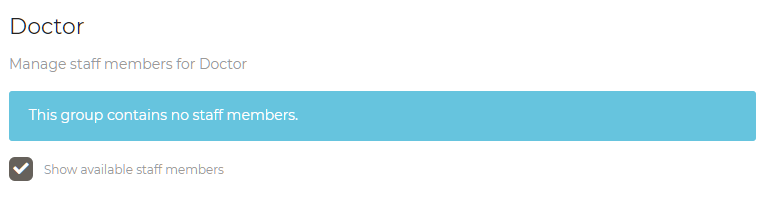
To add a staff member into the group, select their name to highlight them and press ADD.
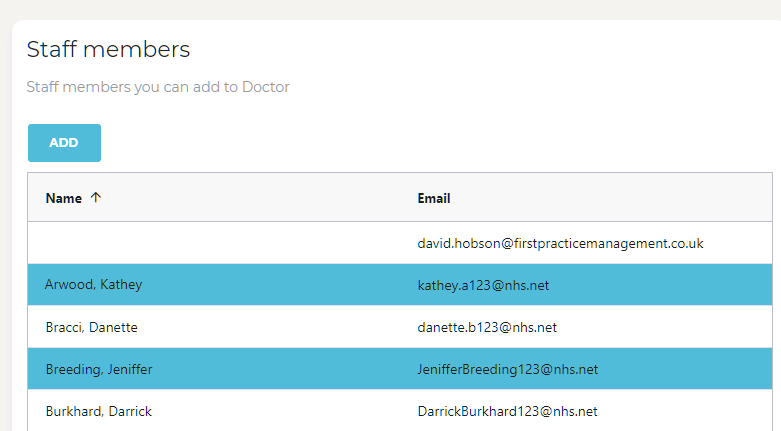
The staff member will be added to the group, and you'll see them on the left-hand side:
On the main Group Management Page, you'll also see a Member Count:

Remove a User from a Group
Within the Group management page, hover over a staff member, and select the bin icon to remove the user from the group:
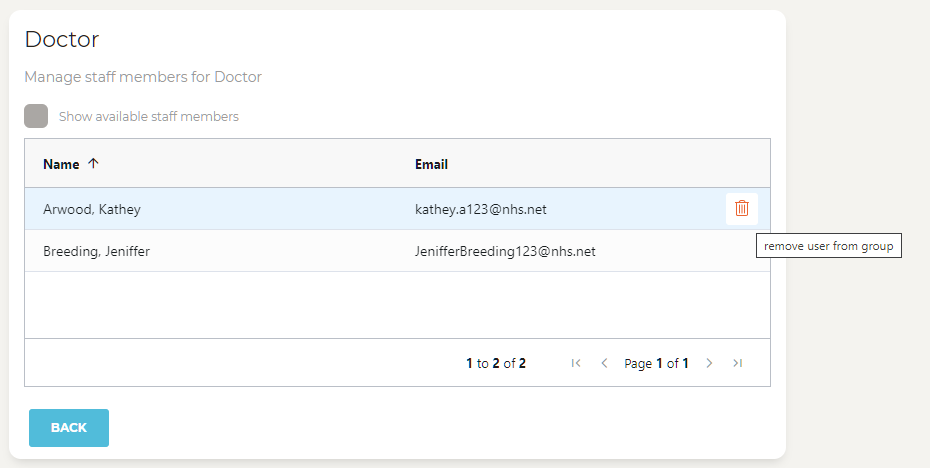
A prompt will show asking you to confirm you’d like to remove the user: Press Yes to confirm or Cancel.