Setting up Staff
The video below will show you everything you need to know about setting up staff within FPMS.
Setting Up Staff in FPMS Pro
Go to the “Tools” near the top of the left hand side and select “Staff” from the menu.

Create Categories
Go over to the “Action” button on the right hand side. From the drop down menu, select “Manage Categories”. Add a new staff category before creating new staff. In this example I have created a new category for Receptionists.


Come back to the staff manager homepage, by clicking on Actions again and then selecting “Staff Manager Home” from the drop down menu.
Create Staff Member
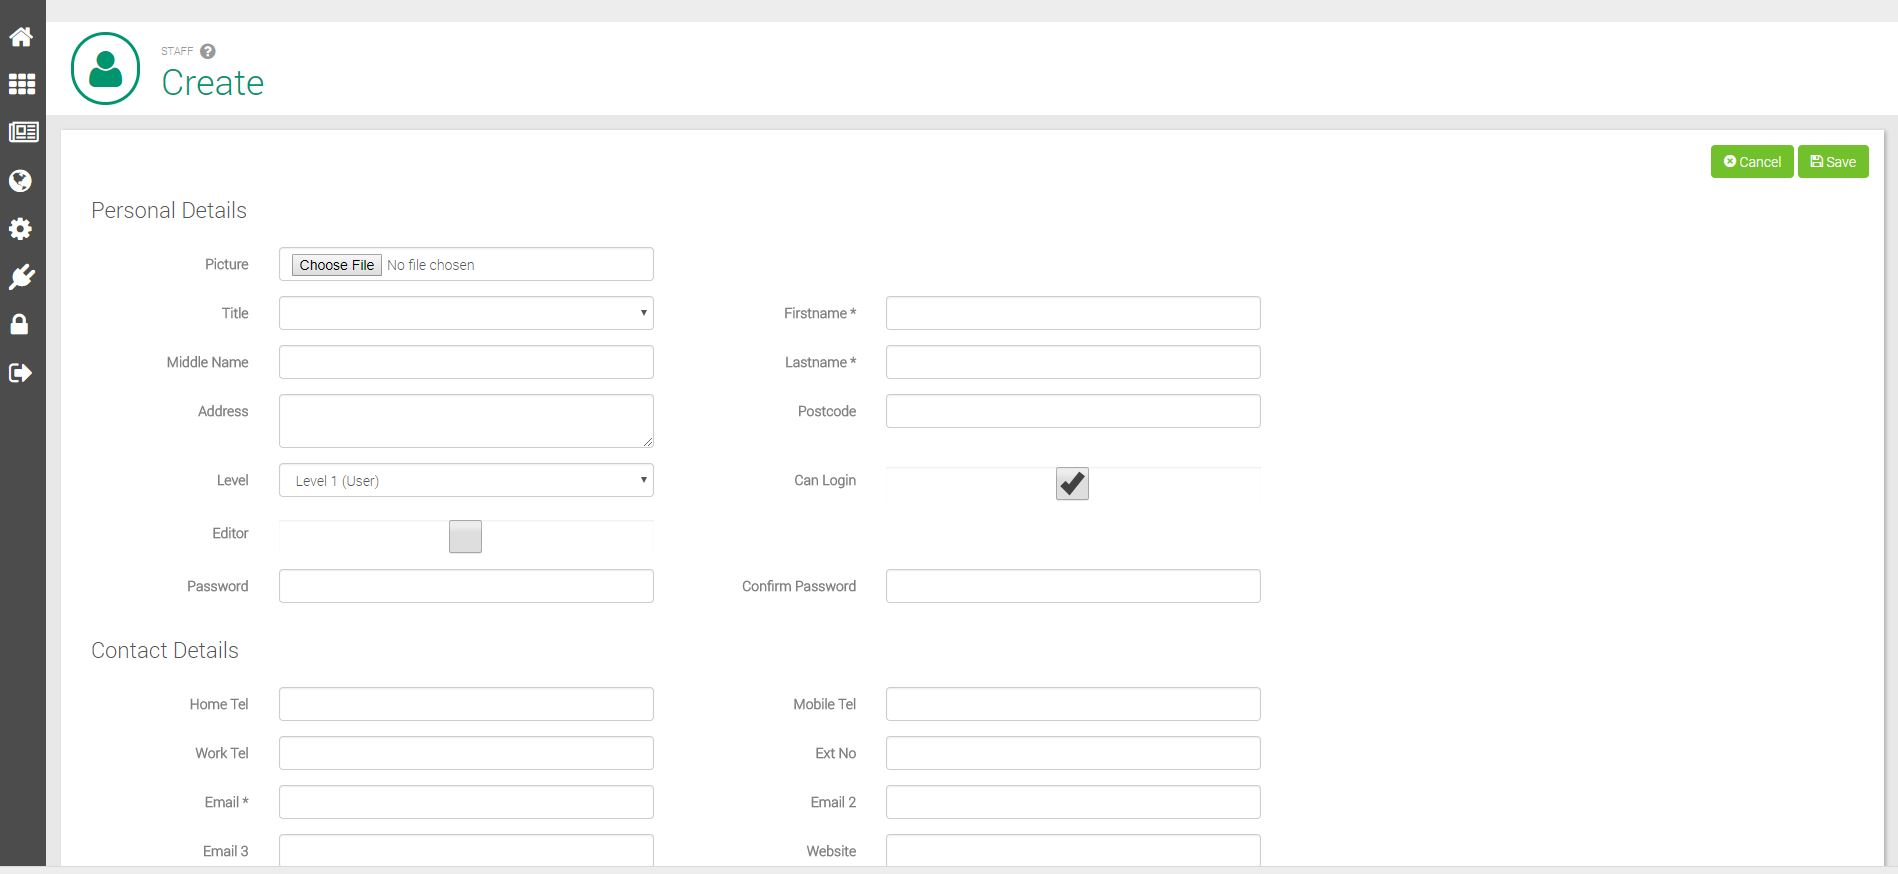
To create a new staff member we need to return again to the “Actions” button and select “Create Staff” from the drop down.
Filling in the details for the new staff member should be largely self explanatory in this section. Required fields are email address, first name and surname and the password fields.

Set User Level
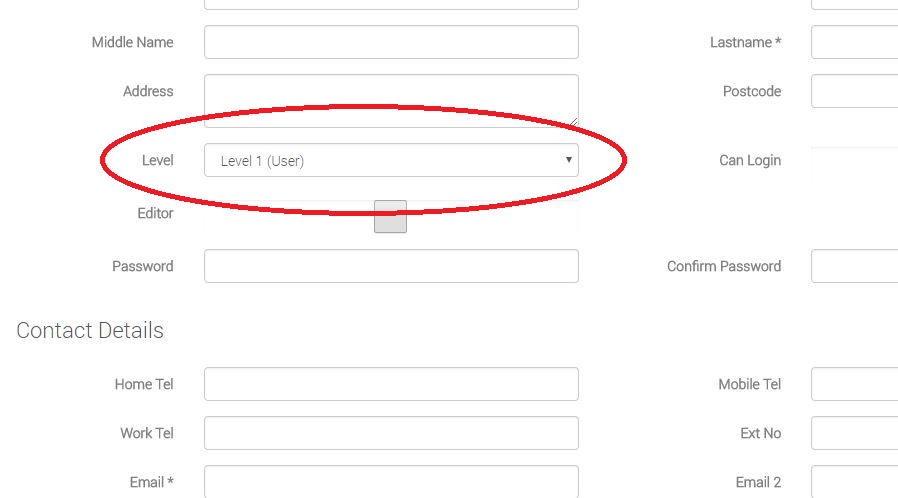
Setting the user level will determine what rights and information the user has access to. Level 1, may have access to calendar or holiday planner but may not have access to drug or equipment manager. We would recommend you set new users to level 1 and then edit them to higher levels as required, as opposed to setting up all staff with admin (level 4) rights by default.

You may have some staff at the practice whom you wish to have on the system but who are not required to login to the system. You can set this by checking/unchecking the “Can Login” button.
Scroll down to contact details and select the staff category from the available options you created earlier.

Return to the top of the page and click “Save” in the top right hand corner of the menu.