Important Notes:
- The FPMS Pro version of Schedule is completely different to the cut down version in FPMS
- In order to use Absence Manager effectively you need to use the Schedule tool.
- Absence Manager, Schedule and Checklist: you can only use these tools if user IDs are assigned to staff members. Before proceeding please ensure all users IDs are assigned to staff members (See this article: User Admin)
Contents
What is Schedule
Schedule is an incredibly flexible tool that will allow you to effortlessly define staff schedules across the practice. It allows you to define working patterns for individual staff members even if they work different patterns, times, days etc. and then easily add them to the schedule so everyone knows who is working.
You can use the staff categories to easily see who is working when and if you have the appropriate cover when leave is requested.
Once you are familiar with the functionality you will find Schedule intuitive and a pleasure to use. There are a number of of options so please take a few minutes to read this help guide.
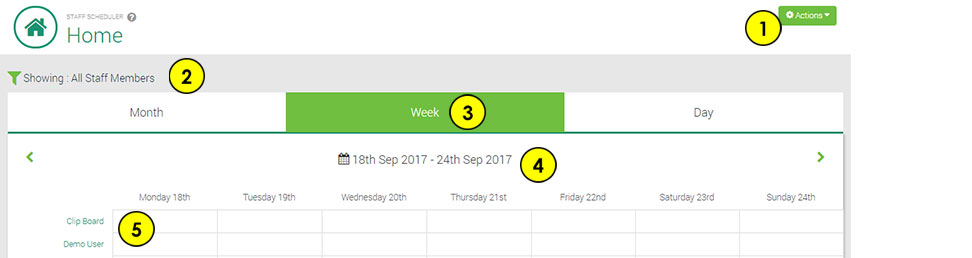
- Actions Menu: View Schedules and Schedule Settings
- Filter: Filter by Staff or by Staff Categories
- Time Scale Selector: Day, Week or Month
- Displayed Date Range: Use the arrows to move through the selected dates
- Staff Members: Click on an individual staff member to view/create their schedule.
The best way of explaining how the Schedule Tool works is with an example.
Eileen is a receptionist who works at different times over a 2 week period.
Week 1: She is off Wednesday and Friday afternoons, starts early on Tuesday and Thursday and works Saturday mornings.
Week 2: She works Mon-Thurs but leaves early on Tuesday.
The process:
- Define the shifts she works
- Add a week to the schedule
- Drag the correct shifts to the correct day
- Create another week
- Drag the correct shifts to the correct day
- Enter the dates this schedule will run to
- Press Save.
It sounds like a lot but it really is intuitive. The video below will show you this in action.

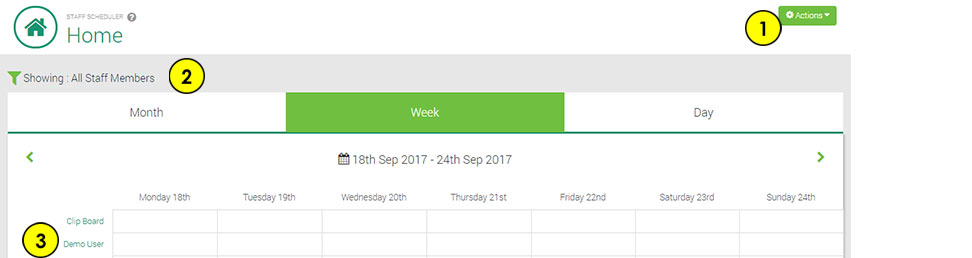
To add a Schedule you have 2 options:
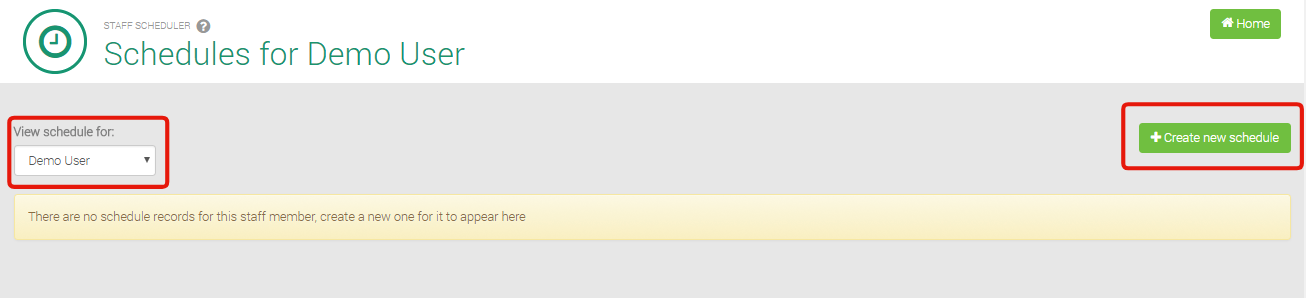
- Click on Actions (1) and select View Schedules. Select the staff member and then press Create Schedule (see below)
- Click on the relevant Staff member (3). You can filter the staff/categories by clicking on (2)
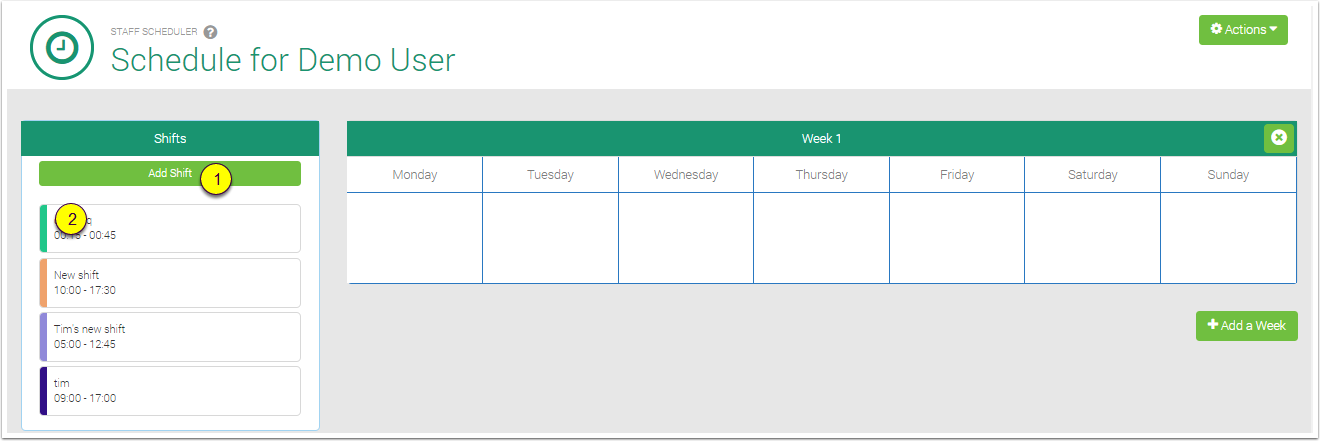
When adding a schedule the first thing to do is ensure the correct shifts have been added. Shifts are the times people work. Every time a shift is added for any staff member it is added to the main list (2). If you have many shifts it is important to name them appropriately.
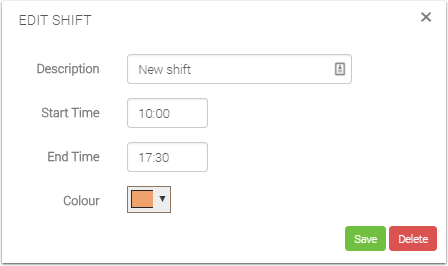
Add a Shift
Simply click Add Shift (1) and the following form will open.
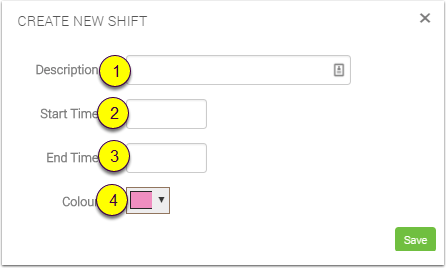
- Enter an accurate description.
- Enter the start time.
- Enter the finish time.
- Select a colour to be be displayed on the shift.
- Click Save.
Edit/Delete a Shift
Important: If you edit/delete a shift it will change for all instances that it is being used. This may cause conflicts.
To edit or delete a shift click the Shift in the main list. You can then make change as required.